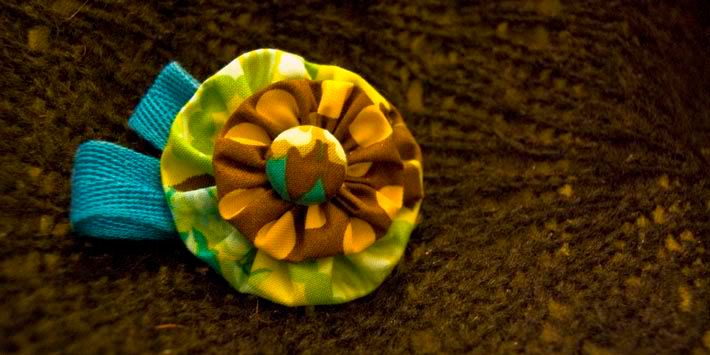
Gosh, what a blogging marathon I seem to be having today! But I just made this as a little extra xmas pressie for a special friend (I am not saying who, that would ruin the surprise!), and I thought I'd share how easy they are to make.

What you need: Two fabric circles, one big and one small. (I used a cereal bowl as a template for the bigger one and a large mug for the smaller, but you could make them as big or small as you like.) • needle and thread • button • some ribbon • a safety pin.
1. Sew basting stitches all around the edge of the circle, and pull tight. Flatten. Repeat for the 2nd circle.
2. Place the smaller circle on top of the larger one and secure in place with a few stitches.
3. Fold some ribbon to look like leaves, and stitch it to the back of the brooch.
4. Stitch a button in the middle at the front and add a safety pin to the back.
Pretty easy, huh? A perfect "in front of the telly" project.
A fabby stashbuster too, if you (like me) have an abundant pile of fabric scraps - although for this one I actually dived in and cut into my Garden Party FQs that up until now I have pretty much just been stroking and drooling over before carefully folding them back up and putting them back in the cupboard...
Source: madebypetchy.blogspot.com
Không có nhận xét nào:
Đăng nhận xét