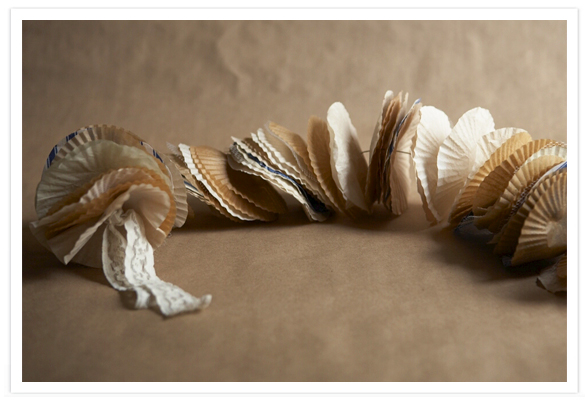
This project is super easy to make and adds such a pretty feeling to your celebration. Two 36″ strands require 4 – 5 packs of baking cups, depending on how loose or tight you want your garlands to be.
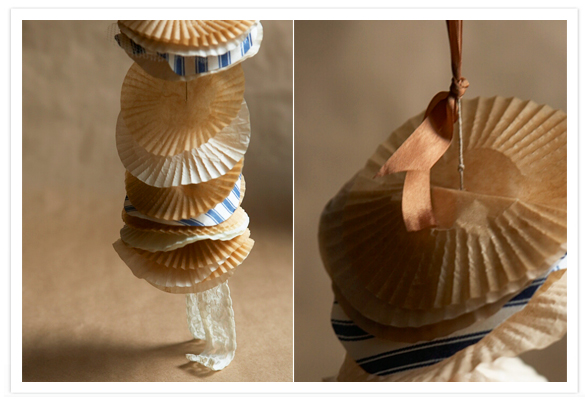
Tools & Materials:
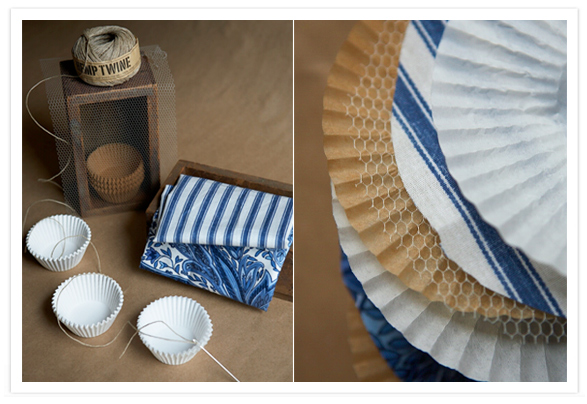
Vintage fabric
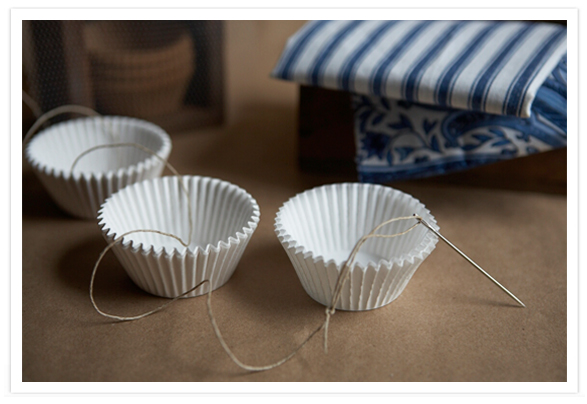
Craft & white cupcake liners. The white liners were tea dyed to soften the color a bit.
Heavy duty threading needle
Twine
Ribbon
Glue gun
How to:
If you’re going to tea dye your liners you’ll need to do that first and let them dry completely.
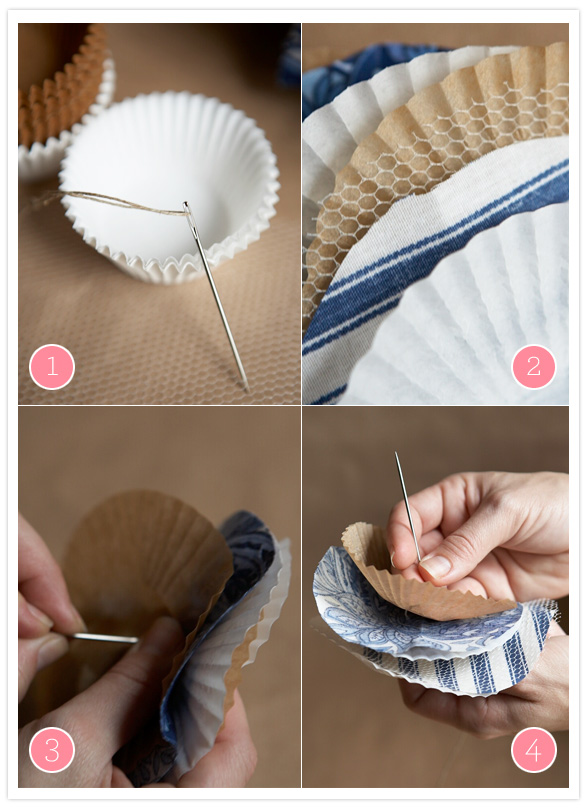
While they’re drying, cut your fabric and tulle into rounds using a cupcake liner as a guide. Lay out all of your liners and fabric rounds so you can arrange them in a stack in the order you like. The rest is pretty straightforward. Take a small stack and just thread your needle through the center of each piece.
Once you’ve got about 1/3 of your liners strung, space them out a bit so they’re as loose or tight as you want your garland to be. Then use your glue gun to attach some of the liners to the thread. This way you can control the spacing of your liners on the garland. You’ll need to let the glue dry before you continue, but luckily hot glue dries super fast. Then repeat the process until your garland is full. Finally, finish off each end of the garland with little bits of ribbon or lace.
projectwedding.com
projectwedding.com
Không có nhận xét nào:
Đăng nhận xét