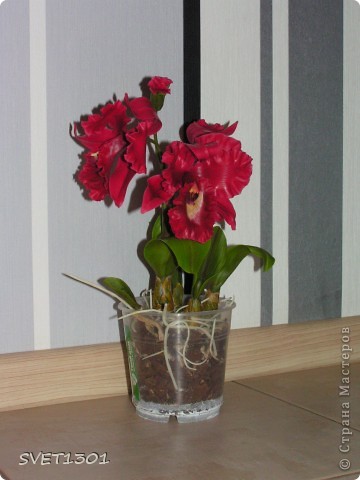
Second Cuttle decided to make a more vivid!
2.
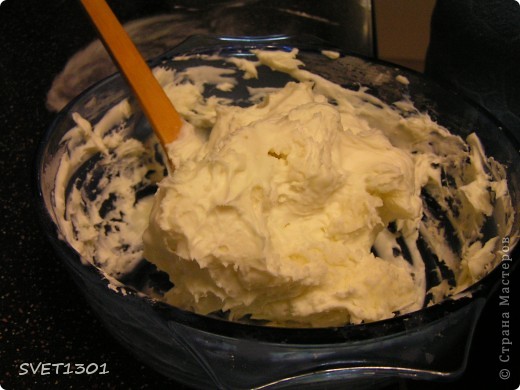
I am very often asked to state what should be cooking a lot of HF. Therefore, this MC, I decided to start with a photo of my weight.
3.
Knead the mass on the table, oiled Nivea cream.
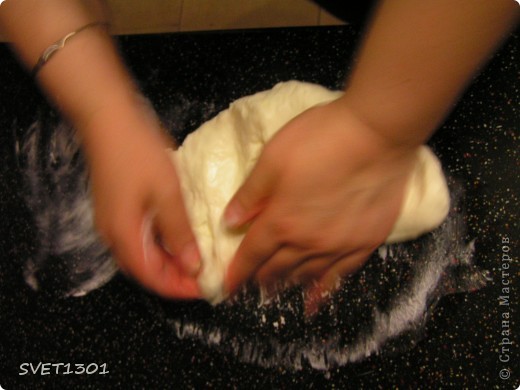
4.
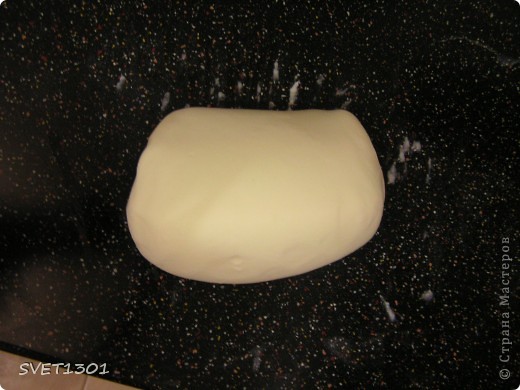
Here we get a nice little bundle! And begin to sculpt an orchid.
5.
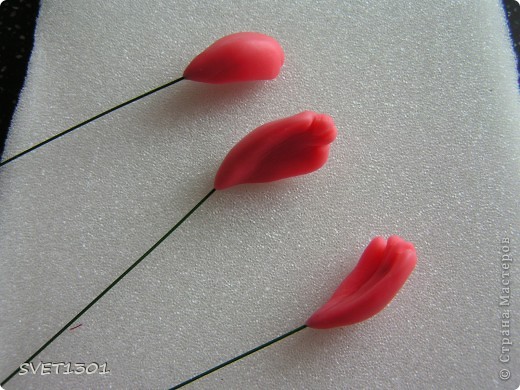
First, paint a lot of HF in the desired color (I paint with oil paint). Make a blank center of the flower. And let them dry for 2-3 hours.
6.
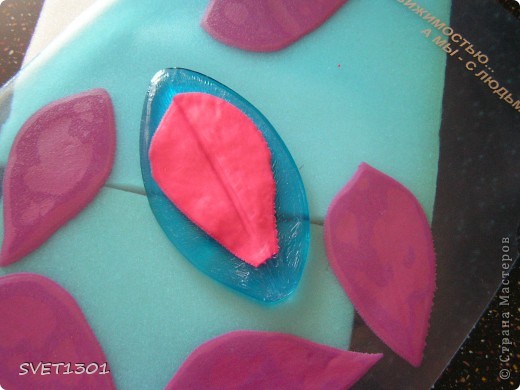
The file roll out bed and HF cut here is a form of the first petal (1 for each flower).
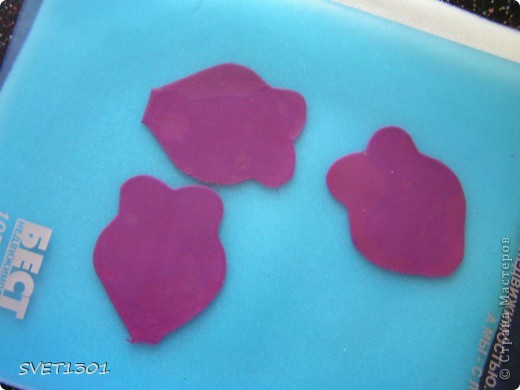
7.
Make a copy for Molde (optional) and acute stack ripped edges.
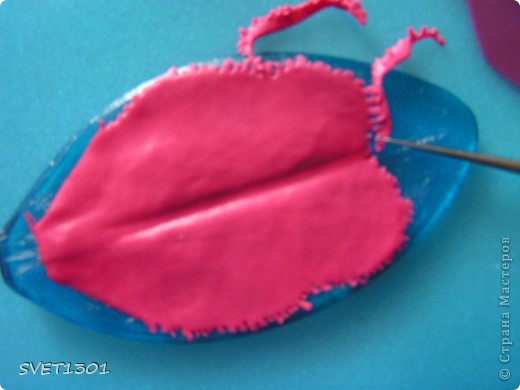
8.
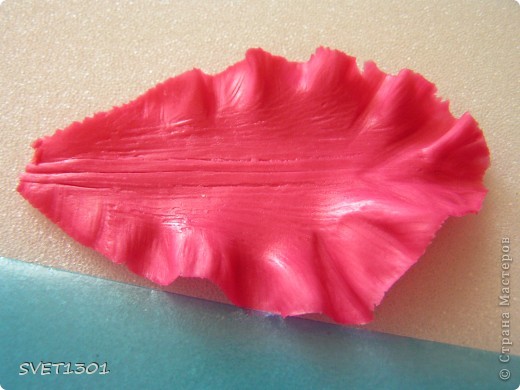
Obkatyvat stack edge, making it wavy.
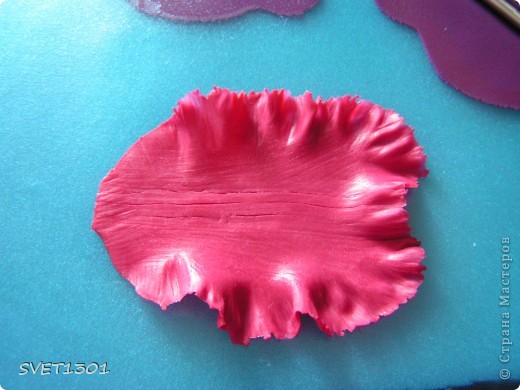
9.
That's glue to the center (the first blank). Attach the required shape and dry them for 3-4 hours.
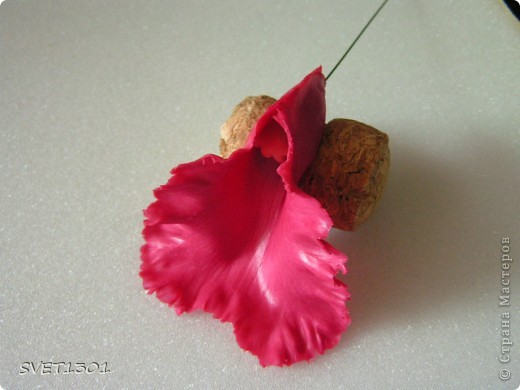
10.
Roll out and cut the side lobes (2 for each flower)
11.
Stacks do wavy edge.
12.
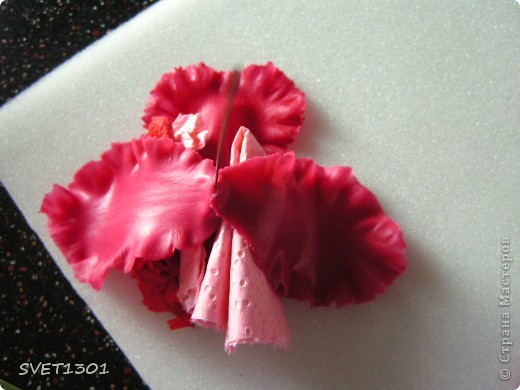
Glue the left and right of first petal. I enclose between petal tissue, to shape and that would petals stuck to each other.
13.
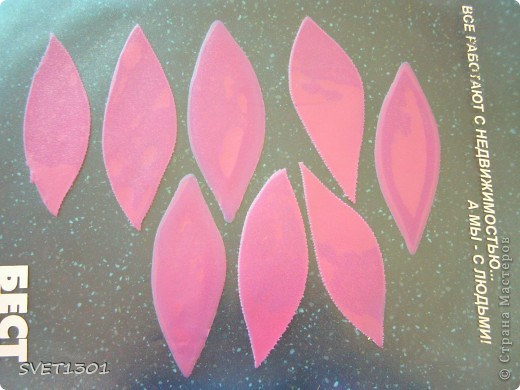
Similarly, doing more to 3 petals on each flower, they are more narrow and without a wavy edge.
14.
Glue, as well paving between the petals of napkins.
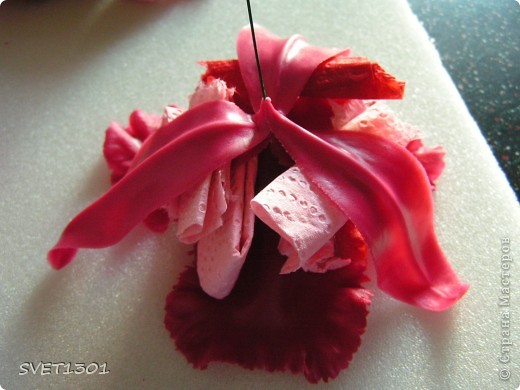
15.
Doing the work is not a full-blown bud and flower buds, which will be in the leaves.
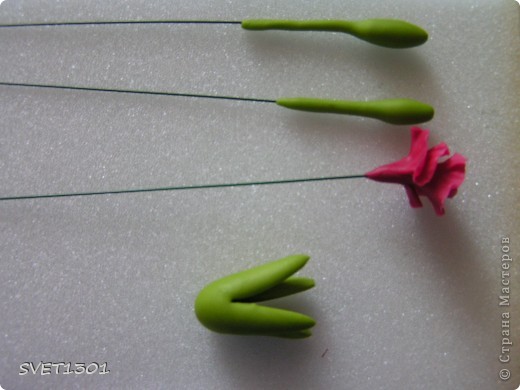
16.
Here is a bud get.
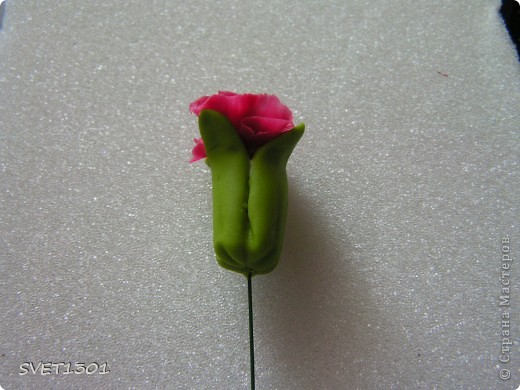
17.
Dried flowers and flower buds run in HF.
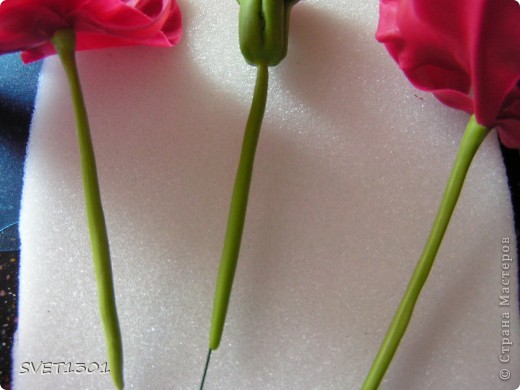
18.
From non-colored HF roll out thin "rope", attach them to any shape and dry them (this is the future roots).
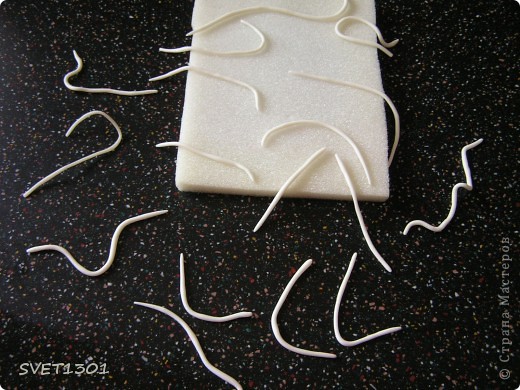
19.
HF paint in green, do the leaves.
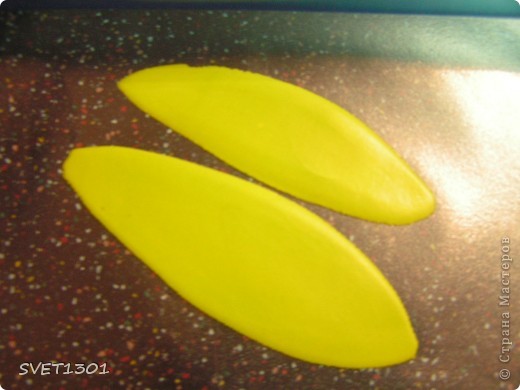
20.
Glue the leaves at once and not many dry them.
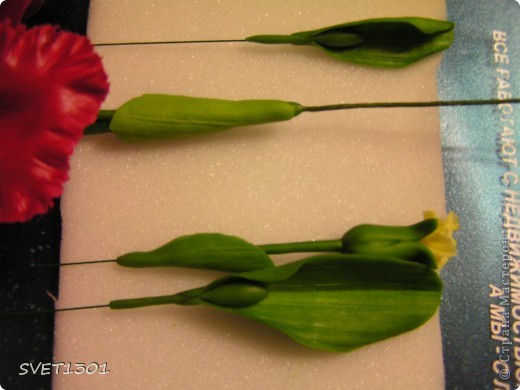
21.
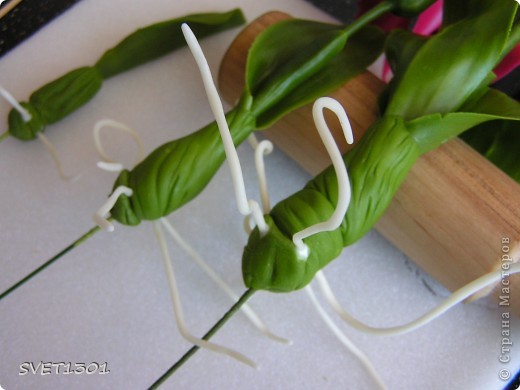
Next, we take no great piece of mass and pass through it the petals in bud or flower. Stack pushes longitudinal streaks and stick to the bottom of the roots.
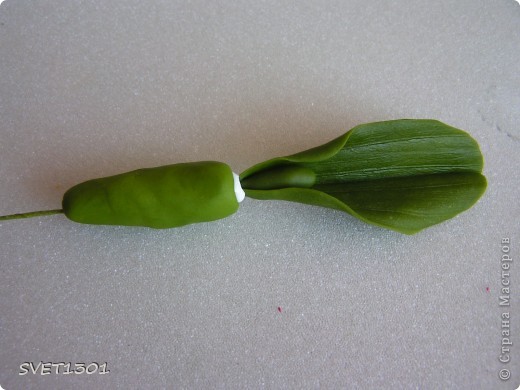
22.
It looks something like this.
23.
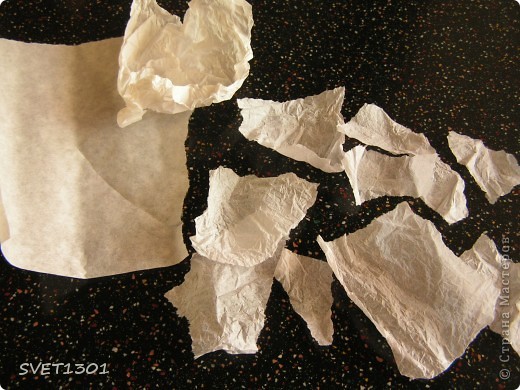
Then take the tissue paper (it is very similar to the thin tracing paper, only thinner) Mnemonic her and tear.
24.
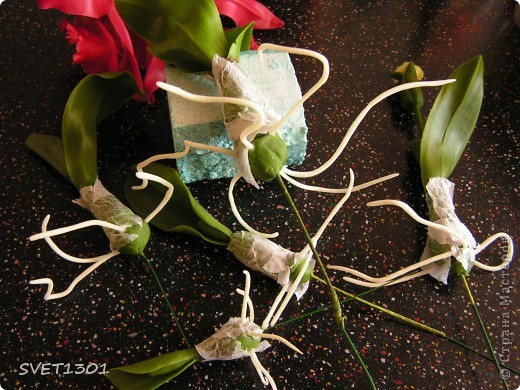
And in a mess glue paper with liquid glue PVA. Dry them and cuts off excess in artistic disorder.
25.
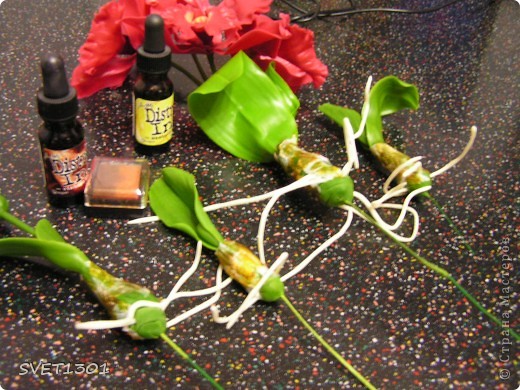
Now paint. I use pen and pad, but the fit and watercolors, which also should be applied with a sponge or a sponge.
26.
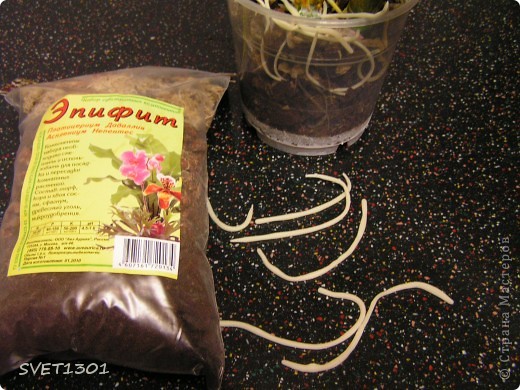
At this time, for decoration, I used this mixture for orchids and covered it in a transparent plastic container, add the roots of HF for realism.
27.
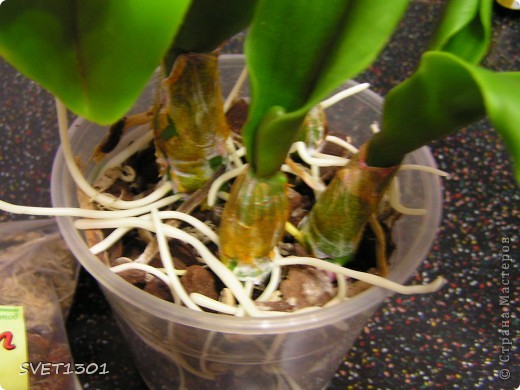
Here's what happened.
28.
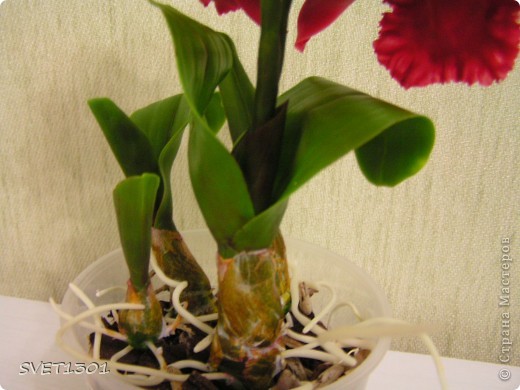
Accents on the leaves and flowers dokrashivala oil paint.
29.
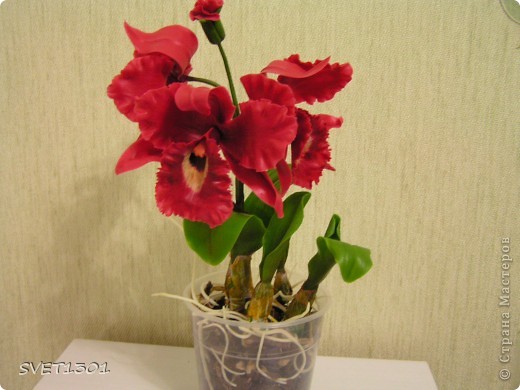
And here's the result. I hope not in vain sat up nights downloading this MC and he will definitely be useful to someone! All success and good luck. If you have questions, ask me necessarily answer.
Không có nhận xét nào:
Đăng nhận xét